Cooking and Canning Bone Broth
September 26, 2020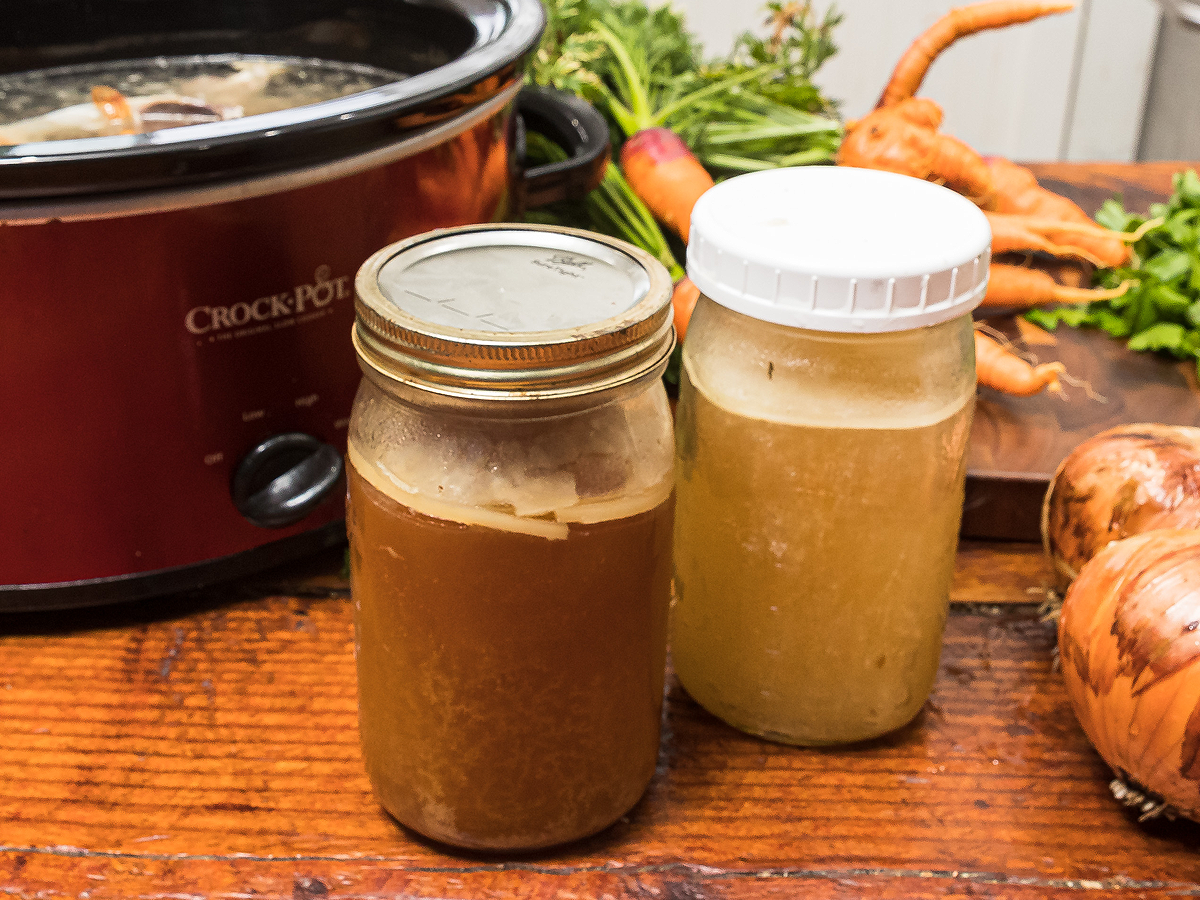
It might be easy to buy beef and chicken broth at the store, but nothing beats the flavor and healthiness of cooking and canning your own. This week, we’re learning how to create beef and chicken broth and store both in the freezer. Plus, using a recipe from Oregon State University Extension Service, we’ll share how to can broth for pantry storage.
Always Consult the Experts
Oregon State University Extension Service and Washington State University Extension Service have shared a long list of canning tips and recipes to keep you and your family safe. If you have questions while canning, call OSU’s food safety and preservation hotline at 1-800-354-7319. The hotline is open every year from late summer through the end of October.
Making Beef Broth
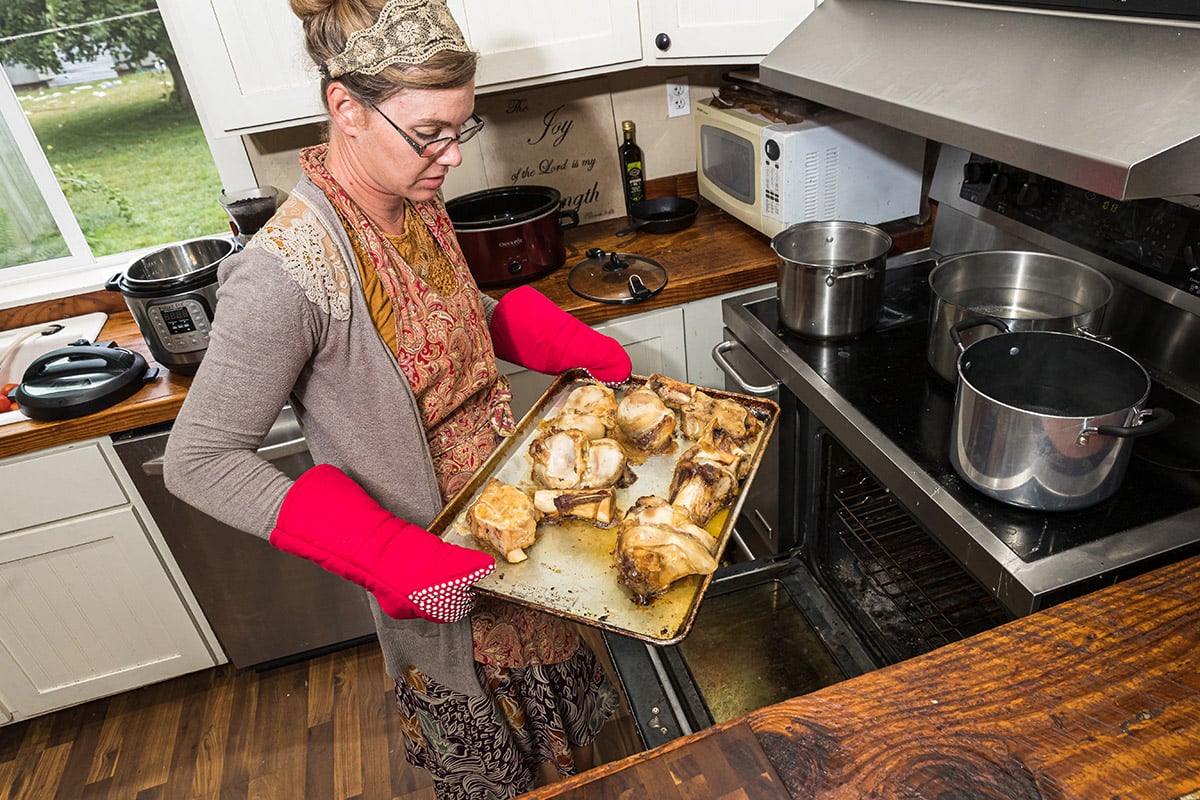
If you have some beef bones on hand, bake them at 375º F for 30 minutes. This will help pull the marrow out when you put them into the instant pot.
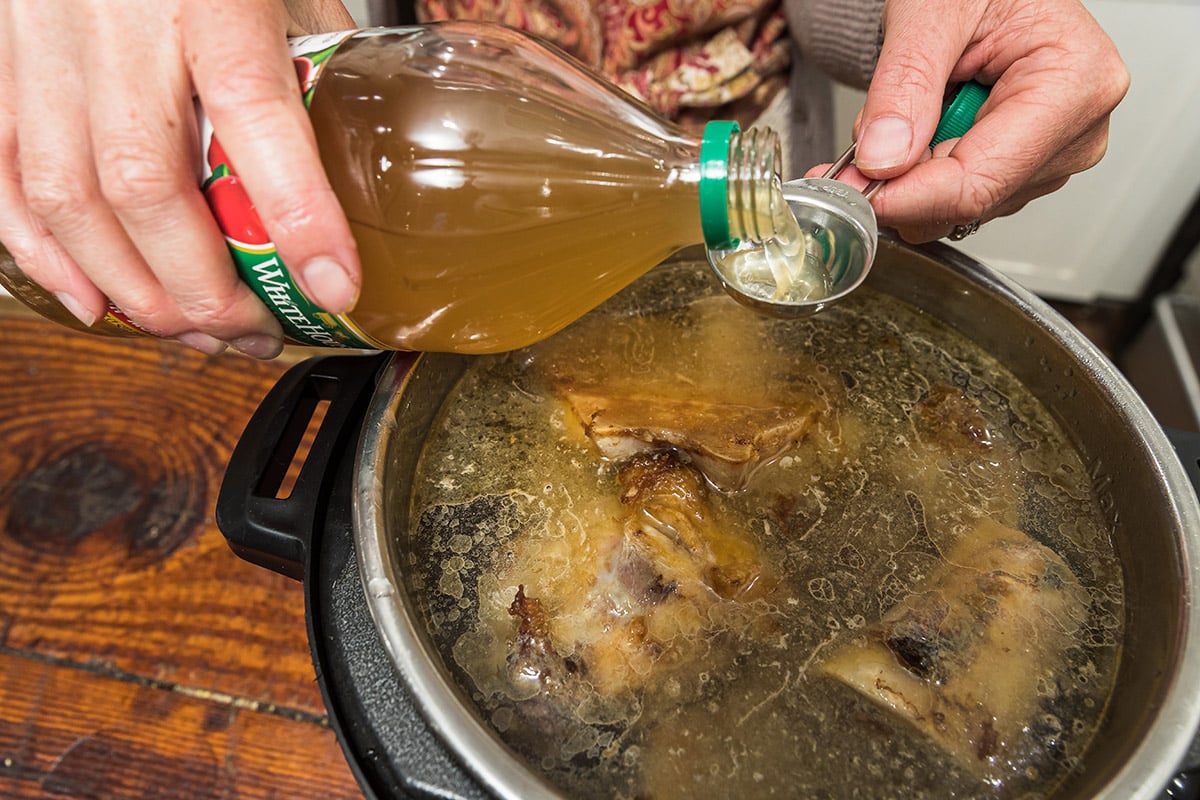
Put everything into the instant pot: Cover the bones in water and add 1-tablespoon apple cider vinegar. This will help leach everything out of the bones to create the broth. Set the Instant Pot for 90 minutes. If you want to add vegetables, you can. But they will simply be watery and part of the broth by the time they are done.
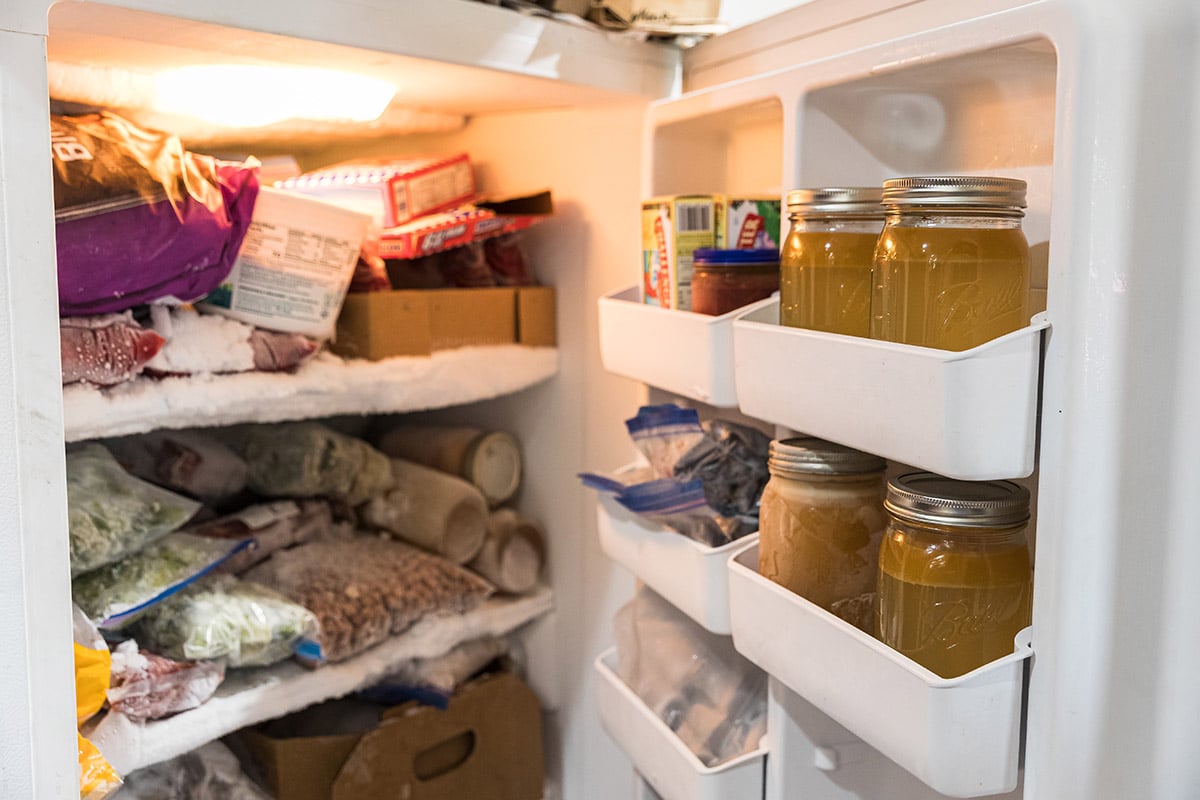
Strain, can, and freeze: Once your Instant Pot is done, pull out the bones and strain out much of the fat and gristle. What you’re left with is wonderful beef broth. Pour your creation into clean jars, leave 1-inch of headspace, and freeze for later.
Making Chicken Broth
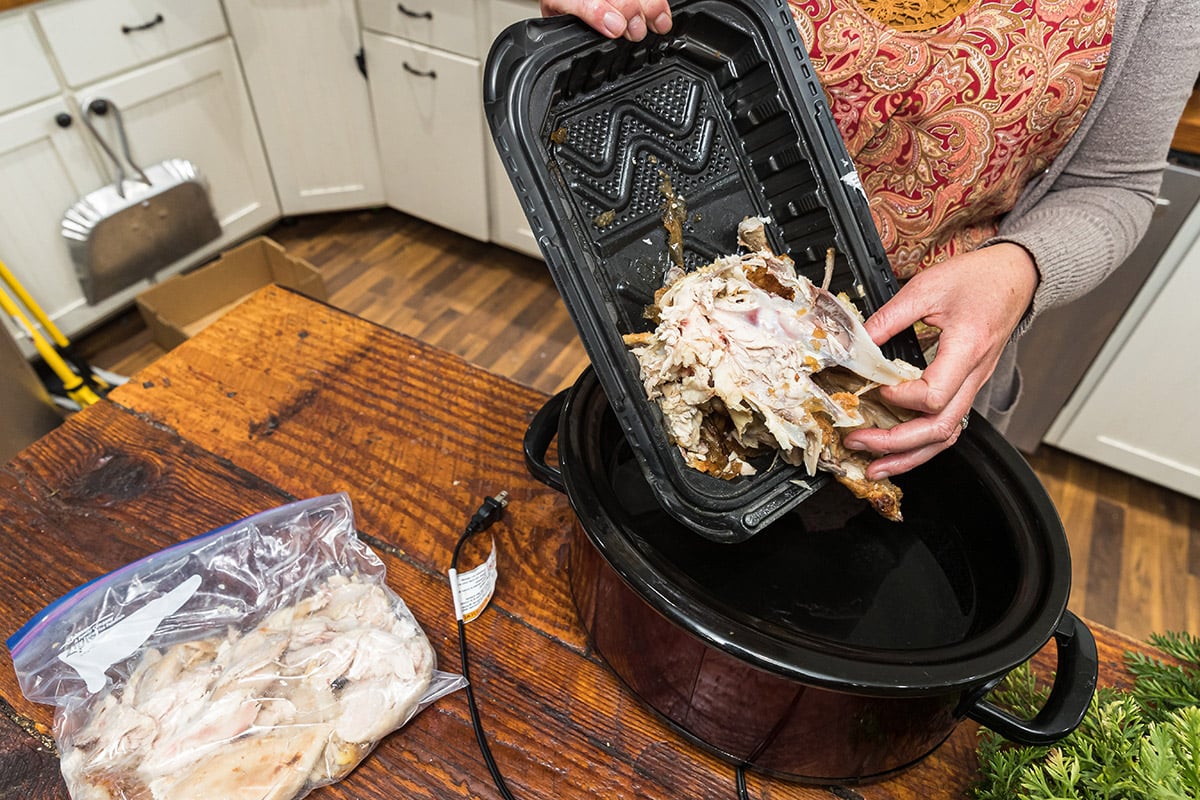
Chicken broth is just as simple to make. All you need is a cooked chicken carcass, some veggies, a crockpot, and plenty of time. First, put your chicken carcass (bones and all) into a crockpot. Add enough water to cover the whole chicken.
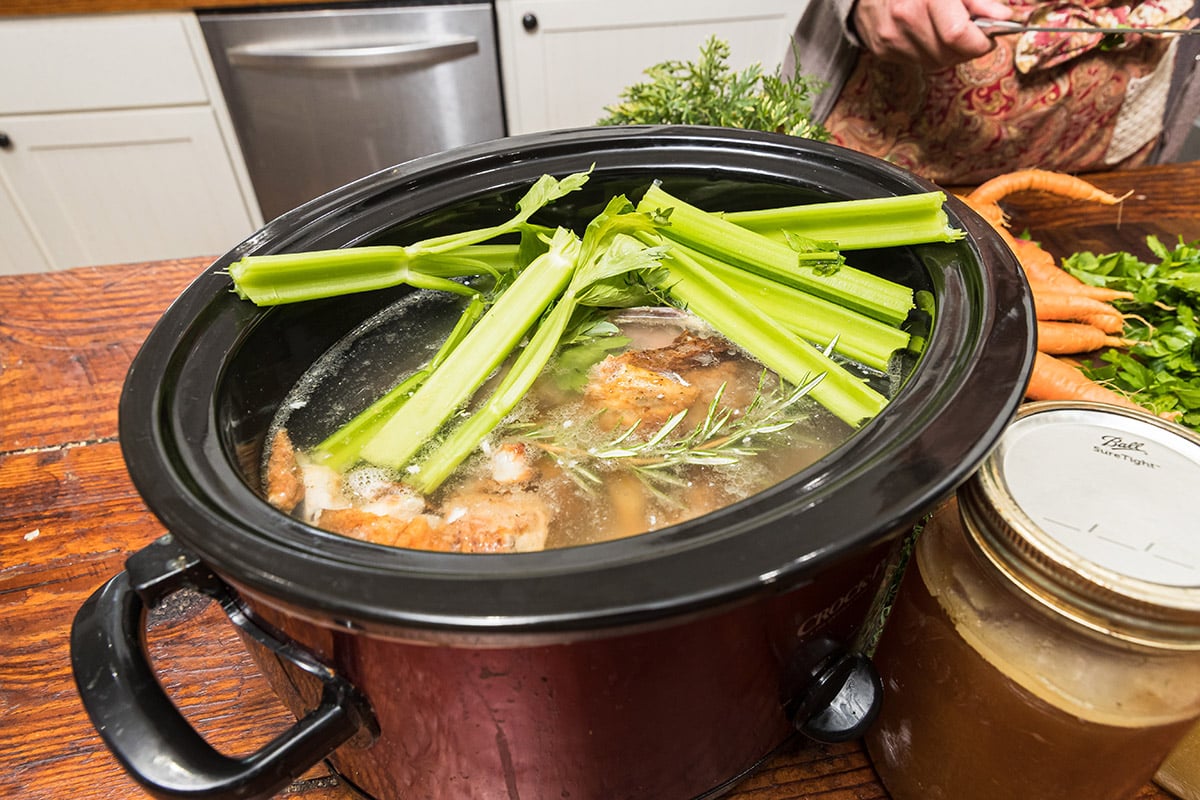
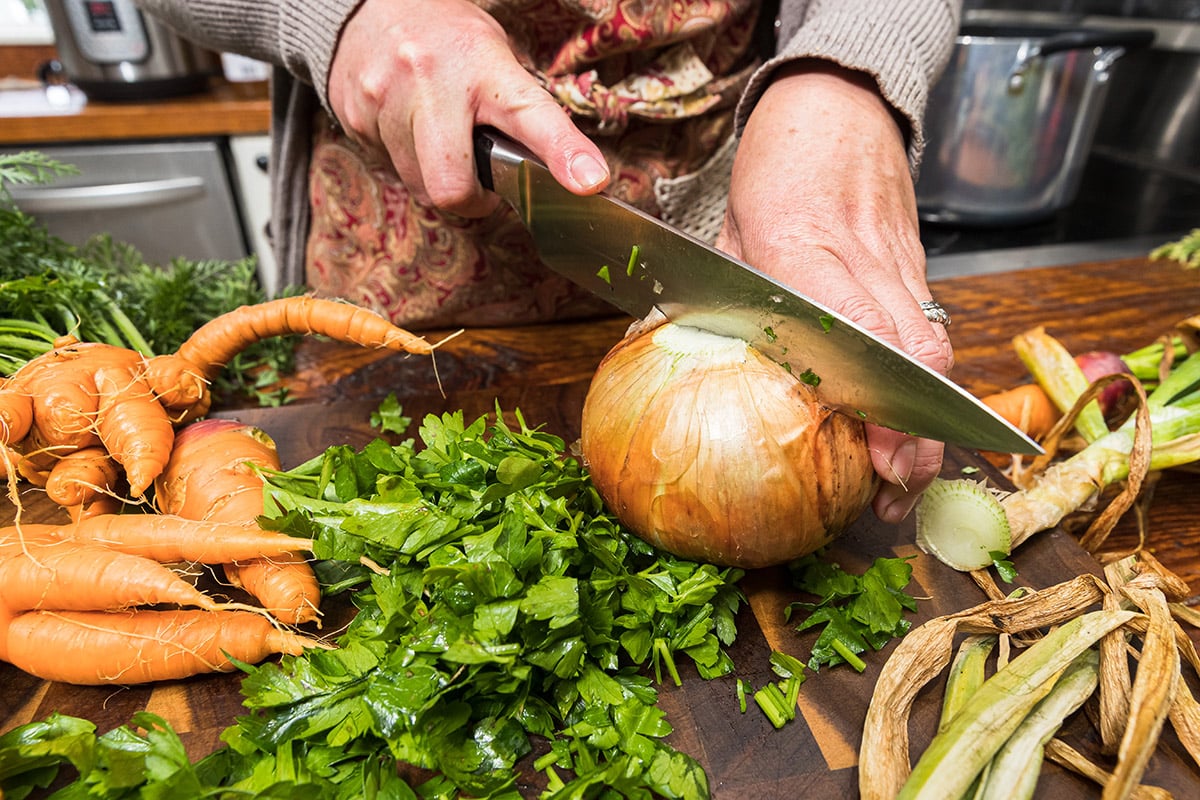
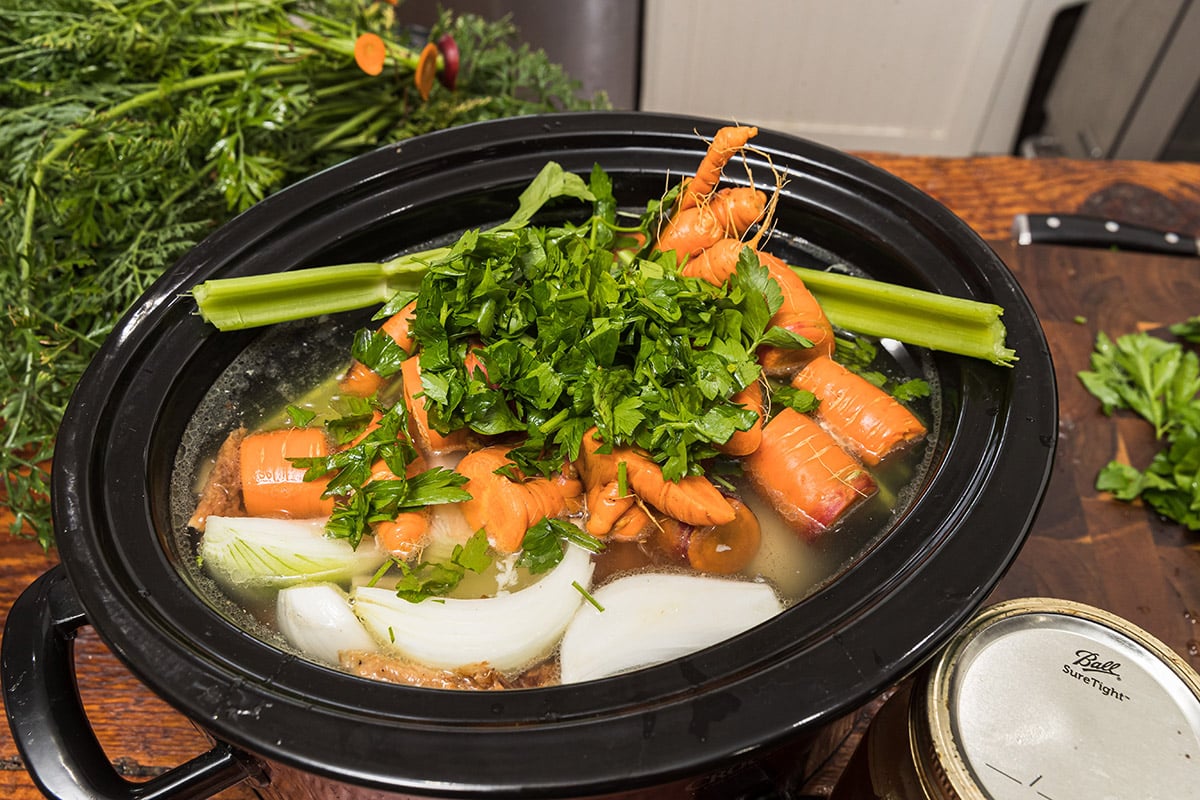
Give it some flavor: Now add your veggies. Onions, carrots, parsley, and celery are all good choices when creating a chicken broth. You can also add thyme, rosemary, or just about anything else growing in the garden.
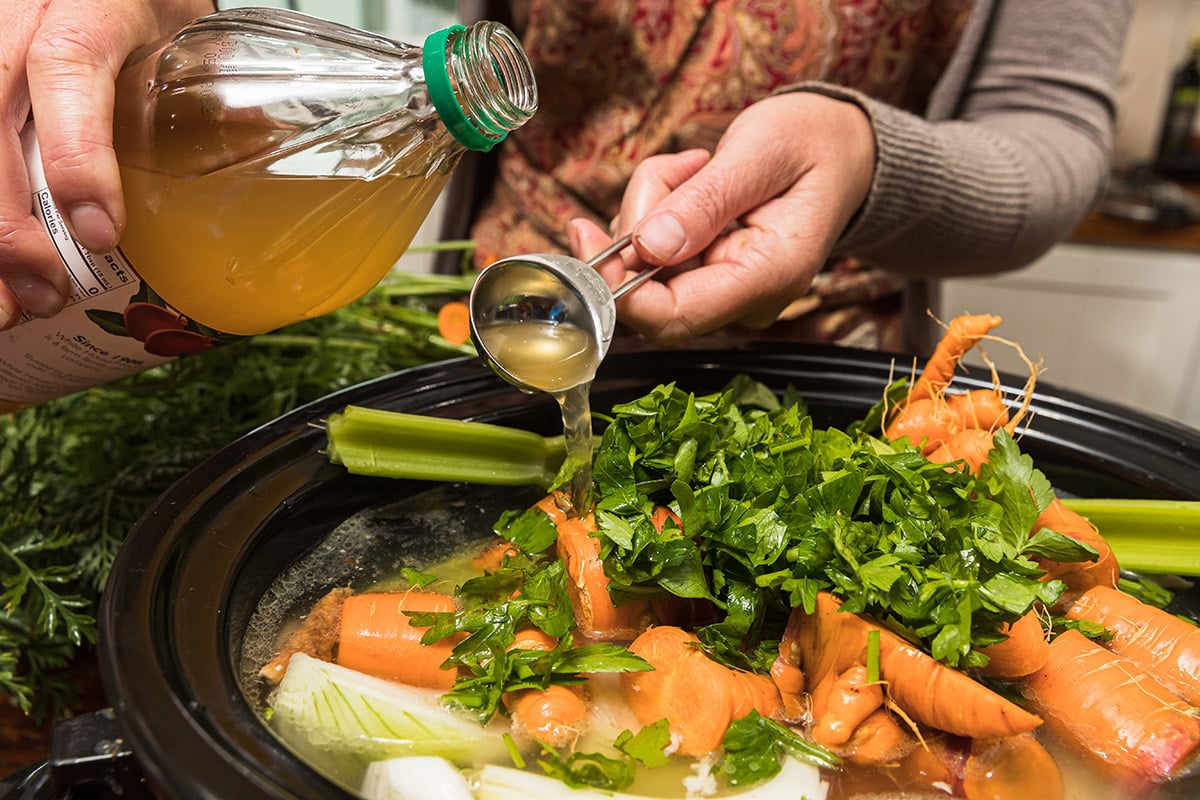
Add 1-tablespoon apple cider vinegar.
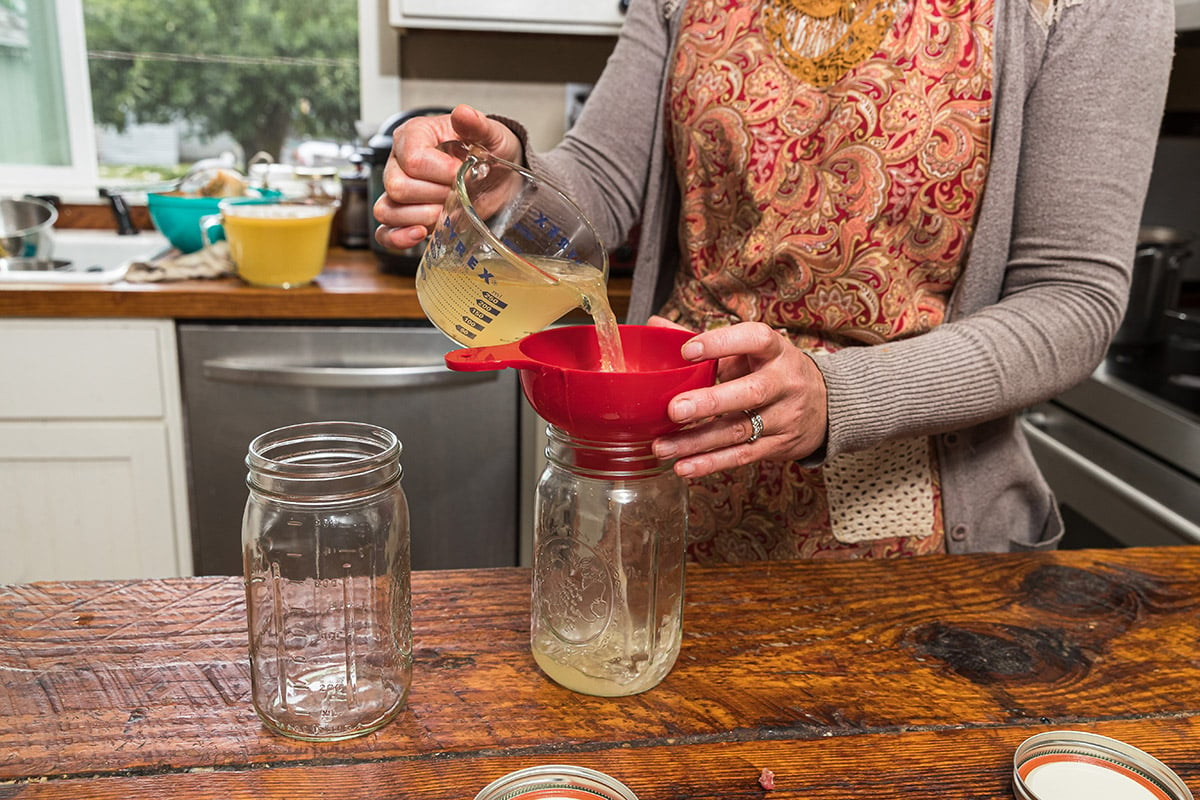
Time to cook: Cover and simmer on low for 24-48 hours: In the end, you’ll have a wonderful broth that you can simply strain and pour into your clean jars. Be sure to leave 1-inch of headspace, tighten the lids, and freeze them for later.
Canning Broth for the Pantry
The pros at Oregon State University Extension Service have created a publication called Canning Soup that includes how to can broth for the pantry.
Step 1: Once you’ve created your broth using the methods we’ve outlined above, simply ladle your hot broth into hot, clean jars. Leave 1-inch of headspace.
Step 2: Wipe the rims and adjust the lids.
Step 3: Process in a pressure canner for 20 minutes for pints and 25 minutes for quart jars at 11 pounds of canning pressure (at 0 to 2,000 feet in elevation). See other elevation specifics in the OSU publication.
Start Your Canning Adventure at Coastal
We have a whole aisle packed with canning supplies, including jars, lids, pressure canners, measuring devices, additives, and friendly folk who can help answer your questions. Your Northwest owned and operated Coastal also carries one of the largest selections of footwear in the west, as well as workwear, western wear, auto parts, sporting goods, and anything else the country needs.
