Canning or Bagging Green Beans (and other veggies)
August 21, 2019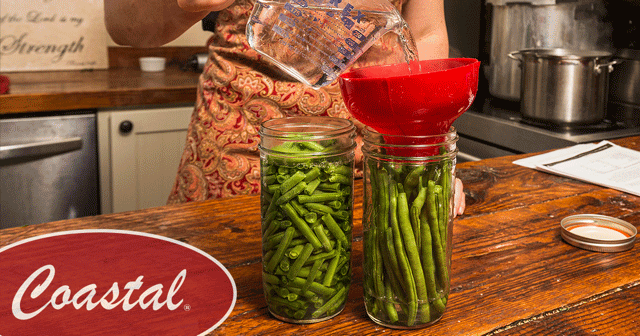
Throughout August, we’ve shared some canning basics, including how to create freezer jam and proper techniques for canning apple pie filling. This week, we’ll be sharing some downhome advice on canning and storing vegetables for your wintertime family meals.
Canning Directions are Essential
If you have a question about canning and food preservation, be sure to call the OSU food safety and preservation hotline now through October at 1-800-354-7319. Additionally, Oregon State University Extension Service and Washington State University Extension Service continually update recipes and advice on proper canning and food preservation techniques.
Get Yur Canning and Storage Supplies at Coastal
Canning veggies starts with Ball® Quart Jars with lids and bands and a Presto 23-quart Pressure Canner and cooker. You’ll also need a Weston 5-Piece Canning set, which includes a wide mouth funnel, jar lifter, lid wrench, kitchen tongs, and a magnetic. Considering vacuum-sealing your veggies? We carry the Coastal Outdoors Commercial Vacuum Sealer and bags to make the job easier.
Canning Green Beans (and other veggies)
What You’ll Need for each quart jar:
- 5 – 2.5 pounds of beans (a bushel of beans may yield 12-20 quarts)
- 1 teaspoon Salt (optional)
Directions (Raw Pack)
Wash the beans and trim the ends.
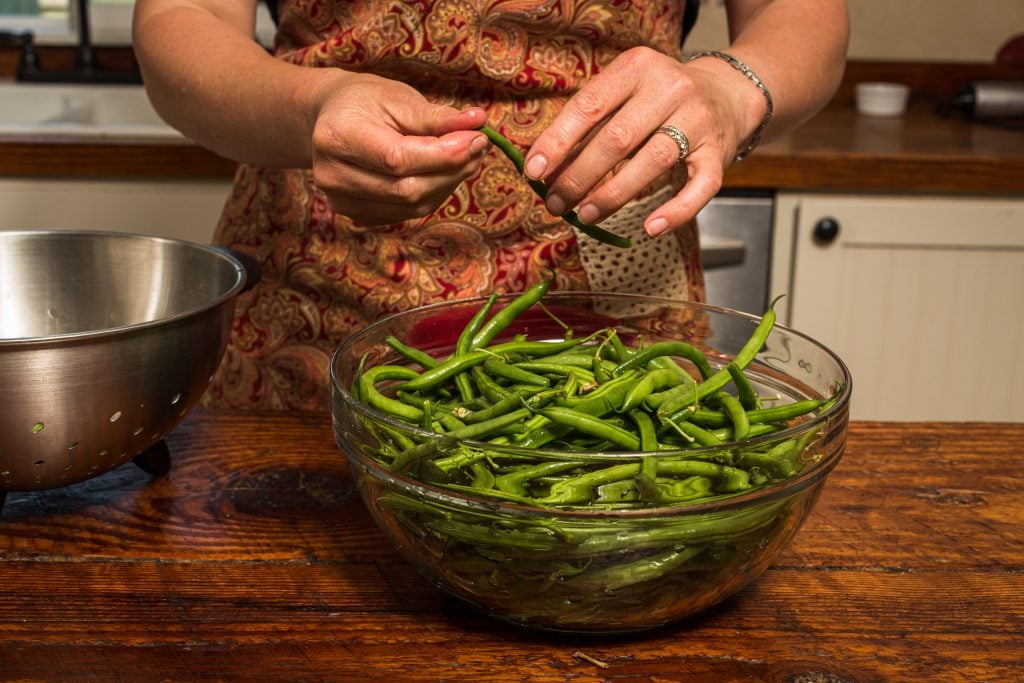
Cut beans into 1-inch lengths or leave them whole for a fancier style.
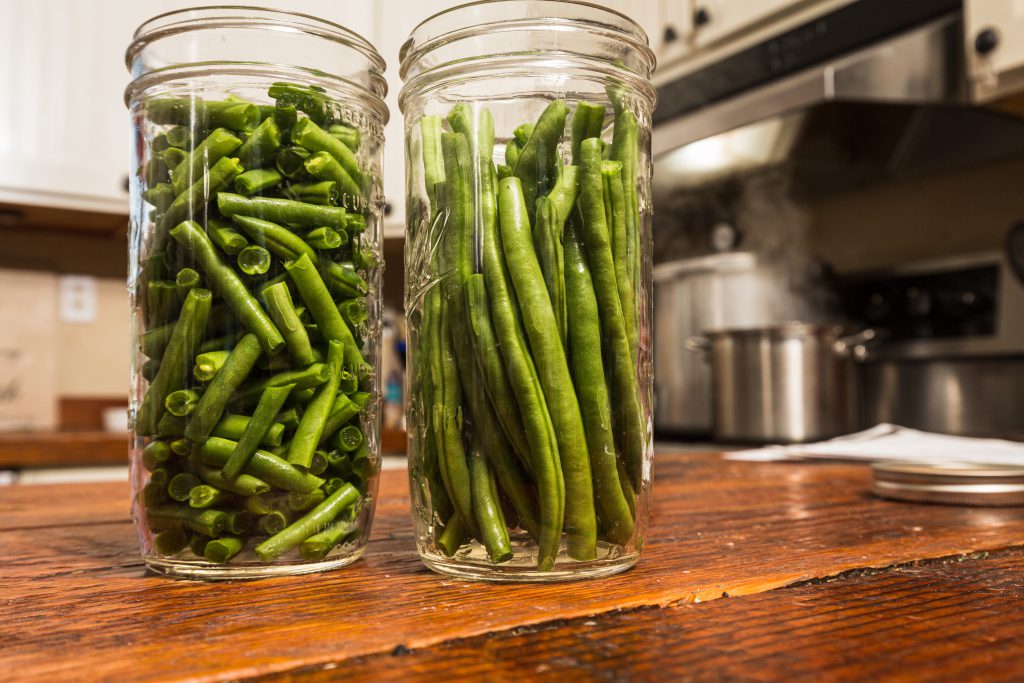
Pack beans tightly into your jar. Then, cover with boiling water. Leave 1-inch headspace.
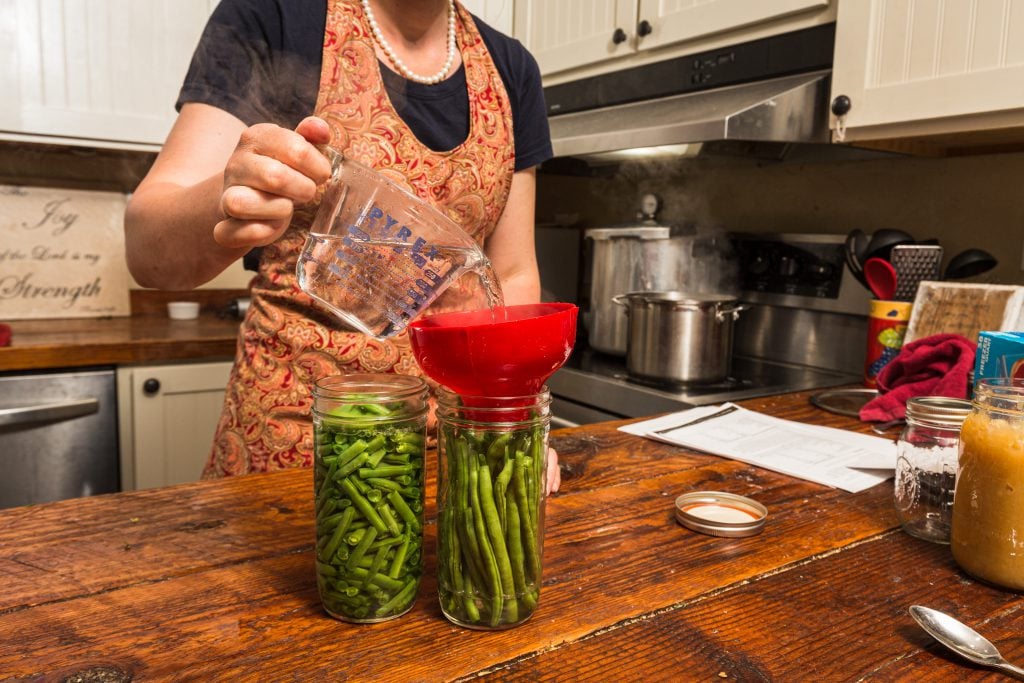
Salt is optional (Gretta likes to use Himalayan salt).
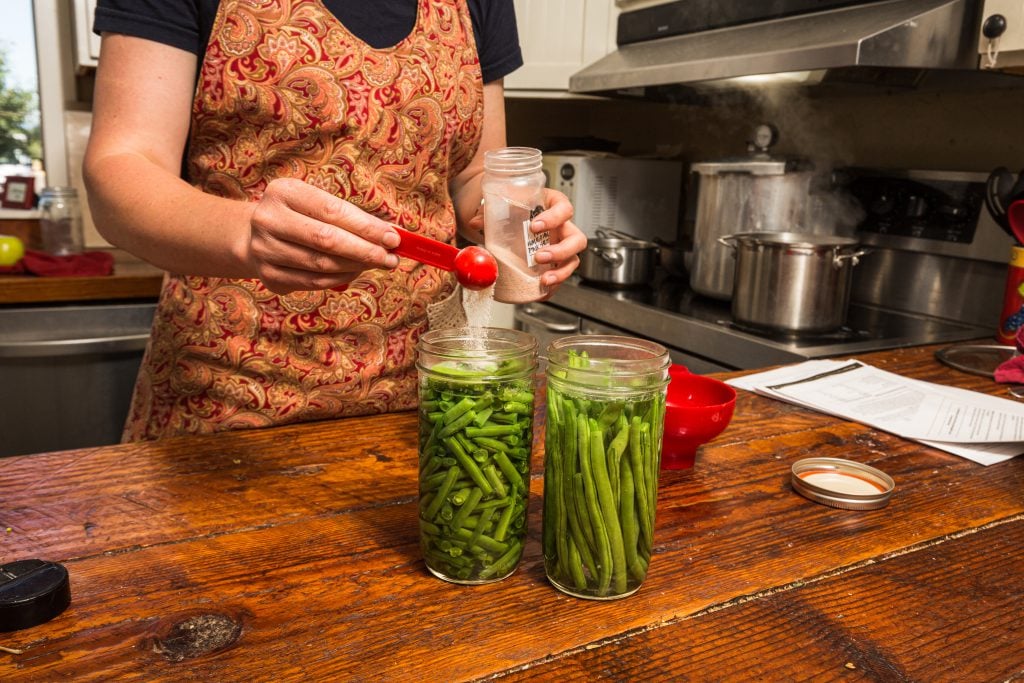
Process at 240ºF for 25 minutes.
Important: Your beans must be processed in a pressure canner at 240ºF. Depending on your elevation, use 10 pounds pressure with a weighted gauge and 11 pounds with a dial gauge (sea level to 1,000 feet), or 15-pounds pressure with weighted gauge (above 1,000 feet) and 12-pounds pressure (2,001 – 4,000 feet) with dial gauge.
After processing, take canner off heat, remove lid, and wait 5 minutes before removing jars.
Directions (Freezing in bags)
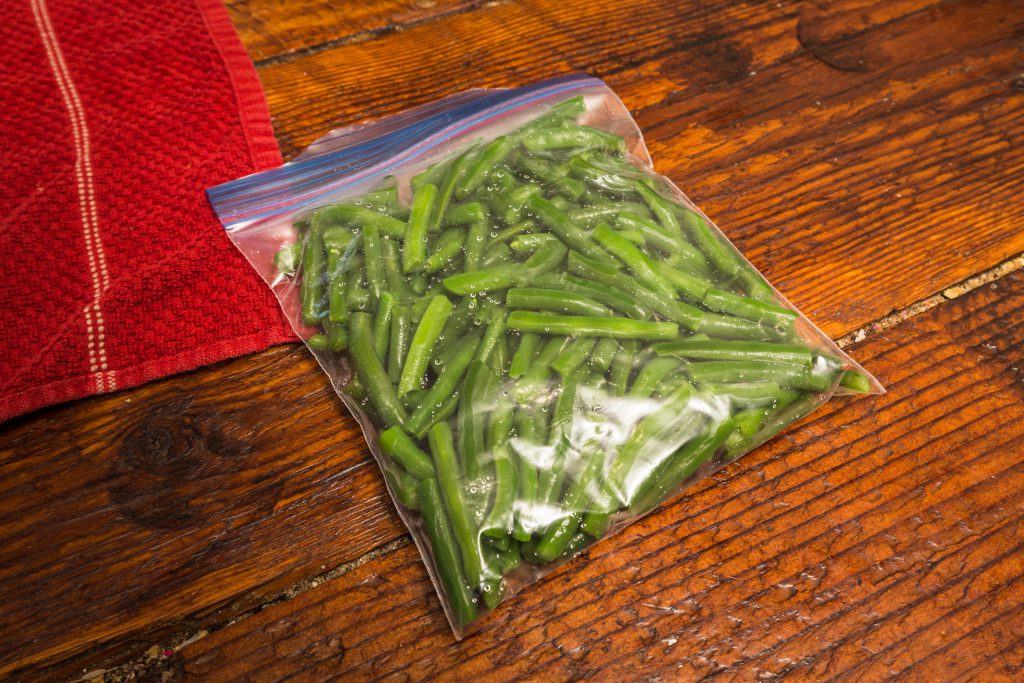
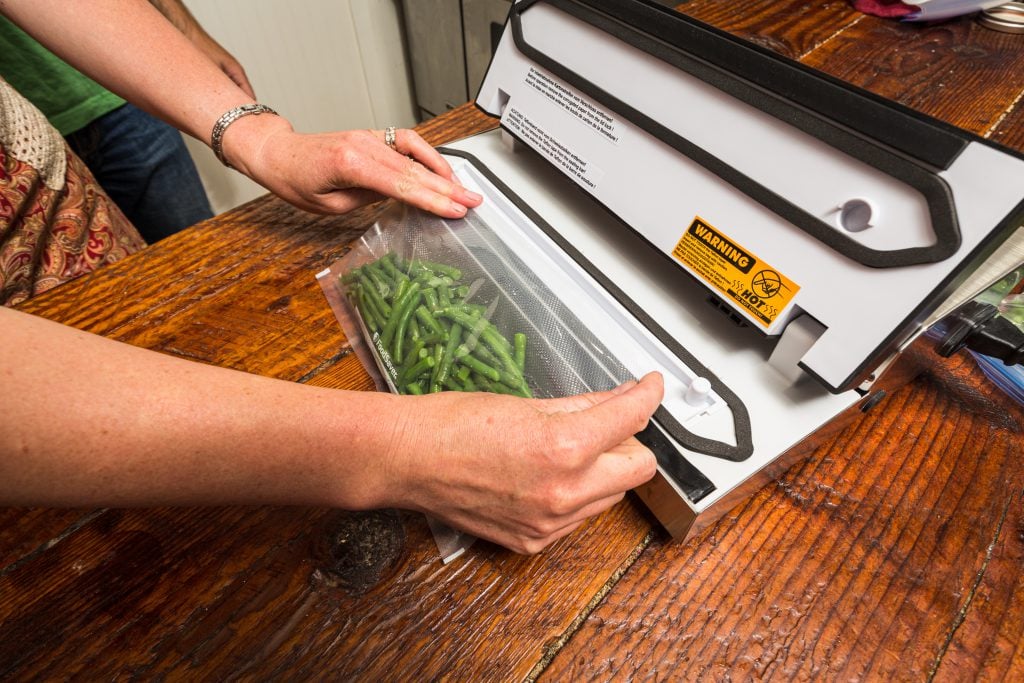
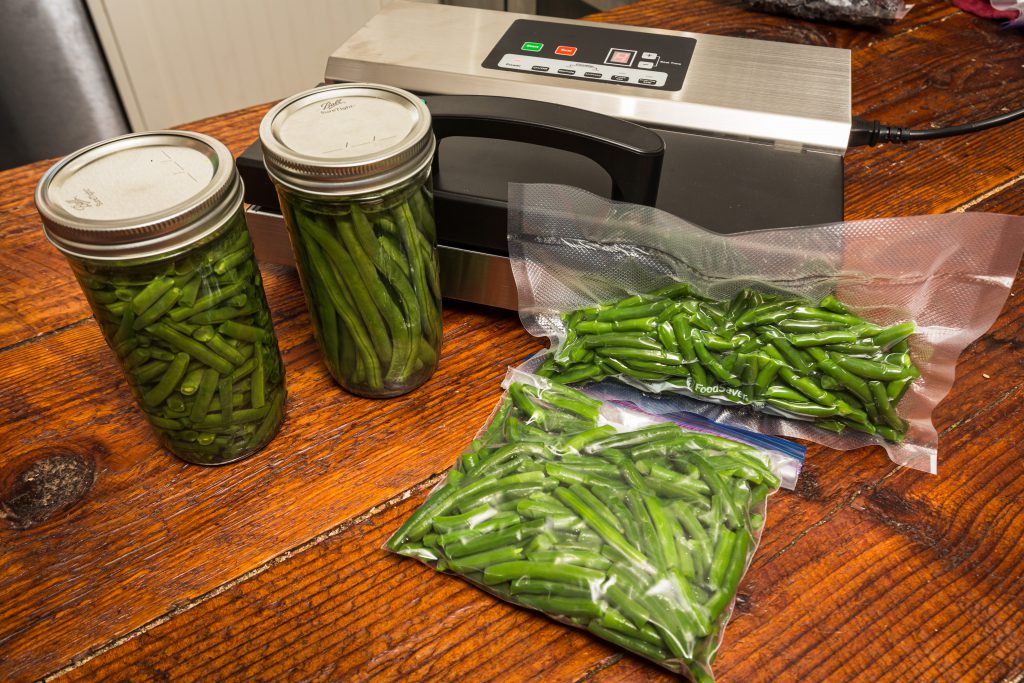
Whether you use Ziplock or vacuum sealing bags, you’ll get great results. What’s the difference? With a vacuum sealer, you get the added advantage of removing all the air, which can help avoid freezer burn.
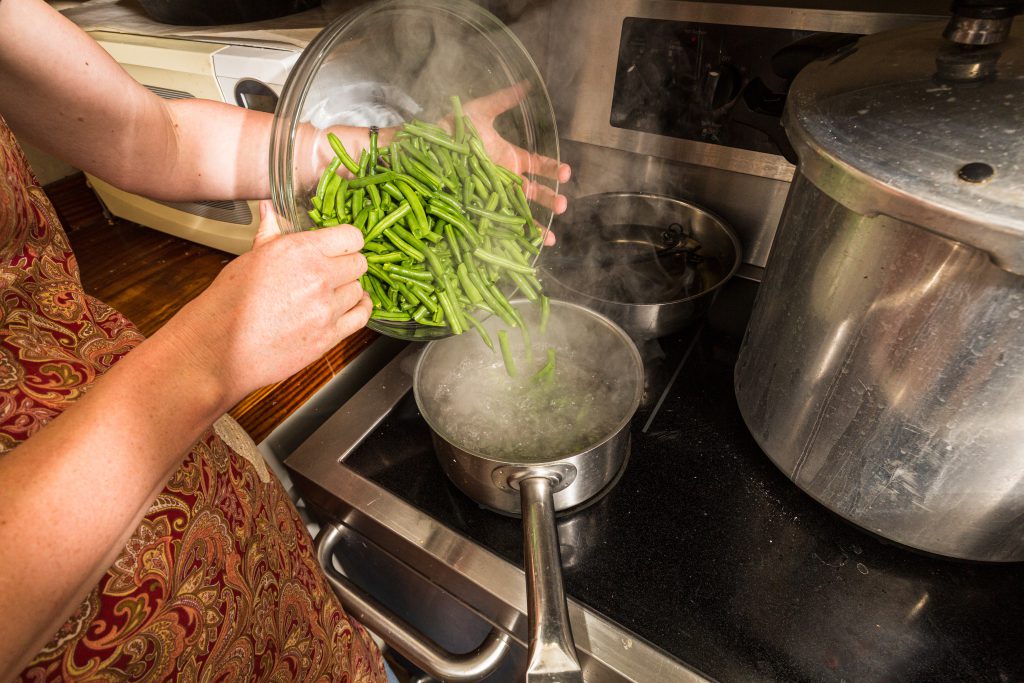
Wash the beans, trim the ends, and blanch beans in boiling water for 3 minutes.
Place your bans in a bowl filled with ice and water.
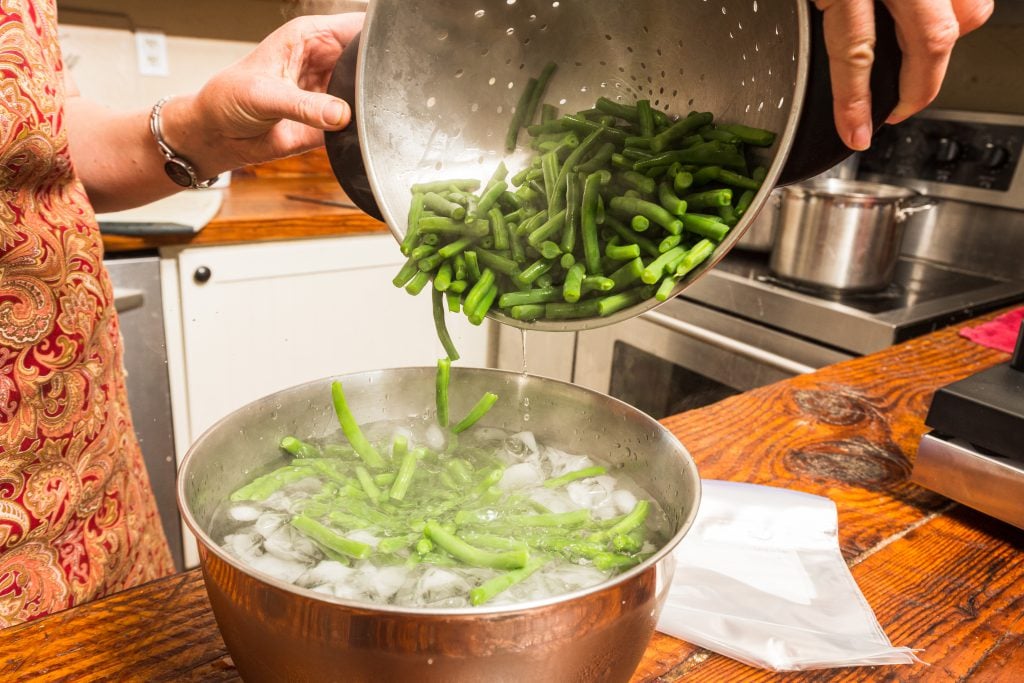
Leave them in the ice for a minute or two.
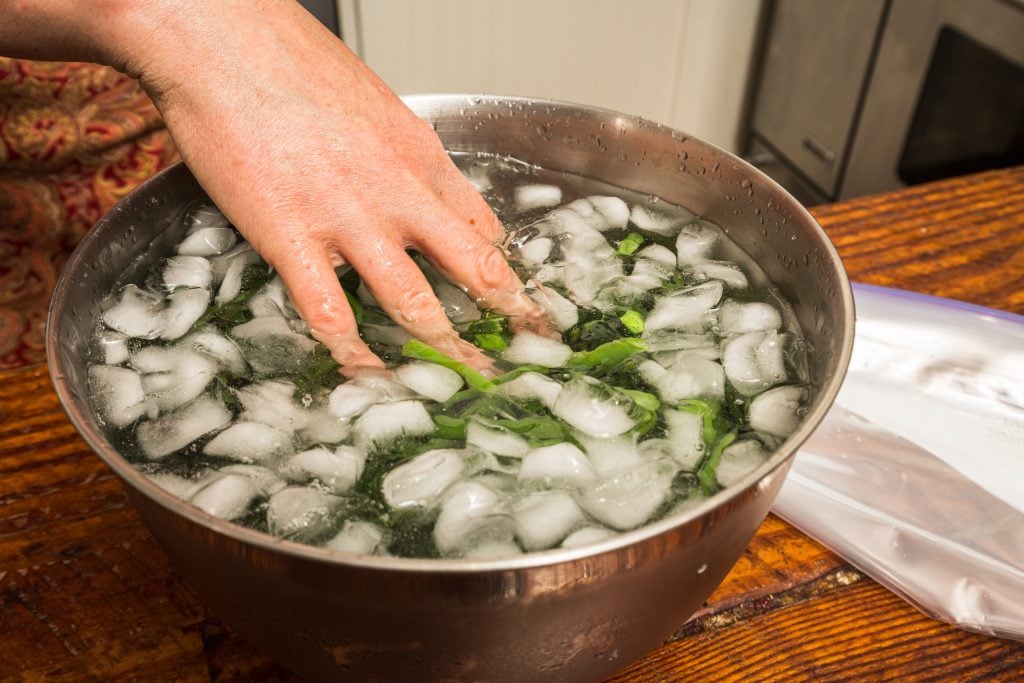
Drain and allow to dry.
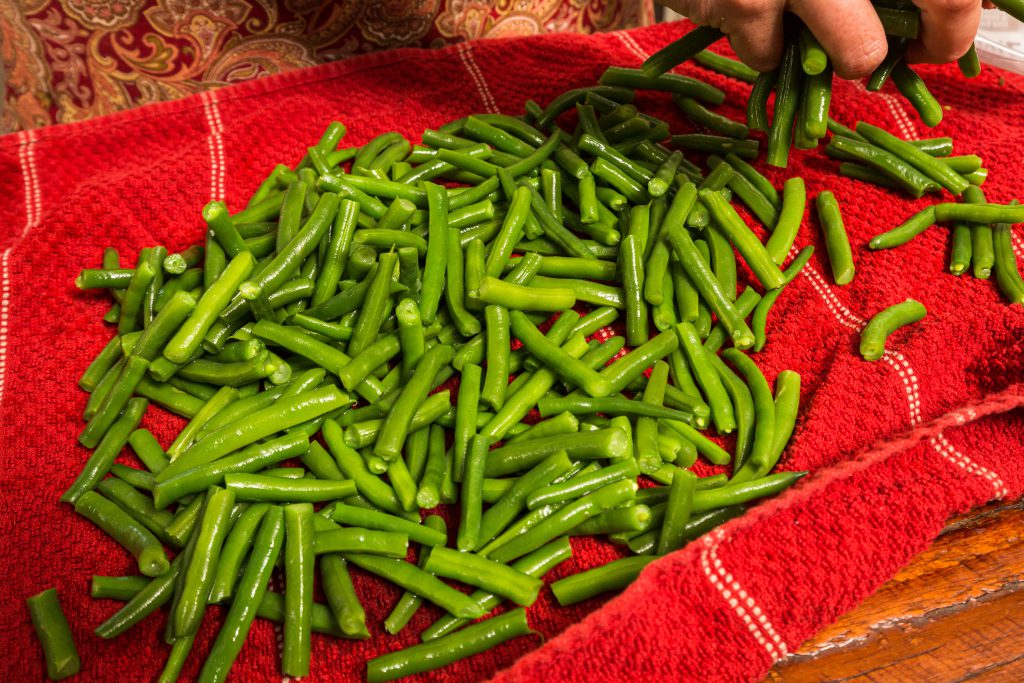
Place in Ziplock bags or use a vacuum sealer and special bags.
Start Your Journey into Canning at Coastal
Your Northwest owned and operated Coastal carries everything you need, including Ball BPA-free lids, pectin, jars, labels and lids, and pressure canners. We also have vacuum sealers, bags, and the know-how to help answer your questions and point you in the right direction.
