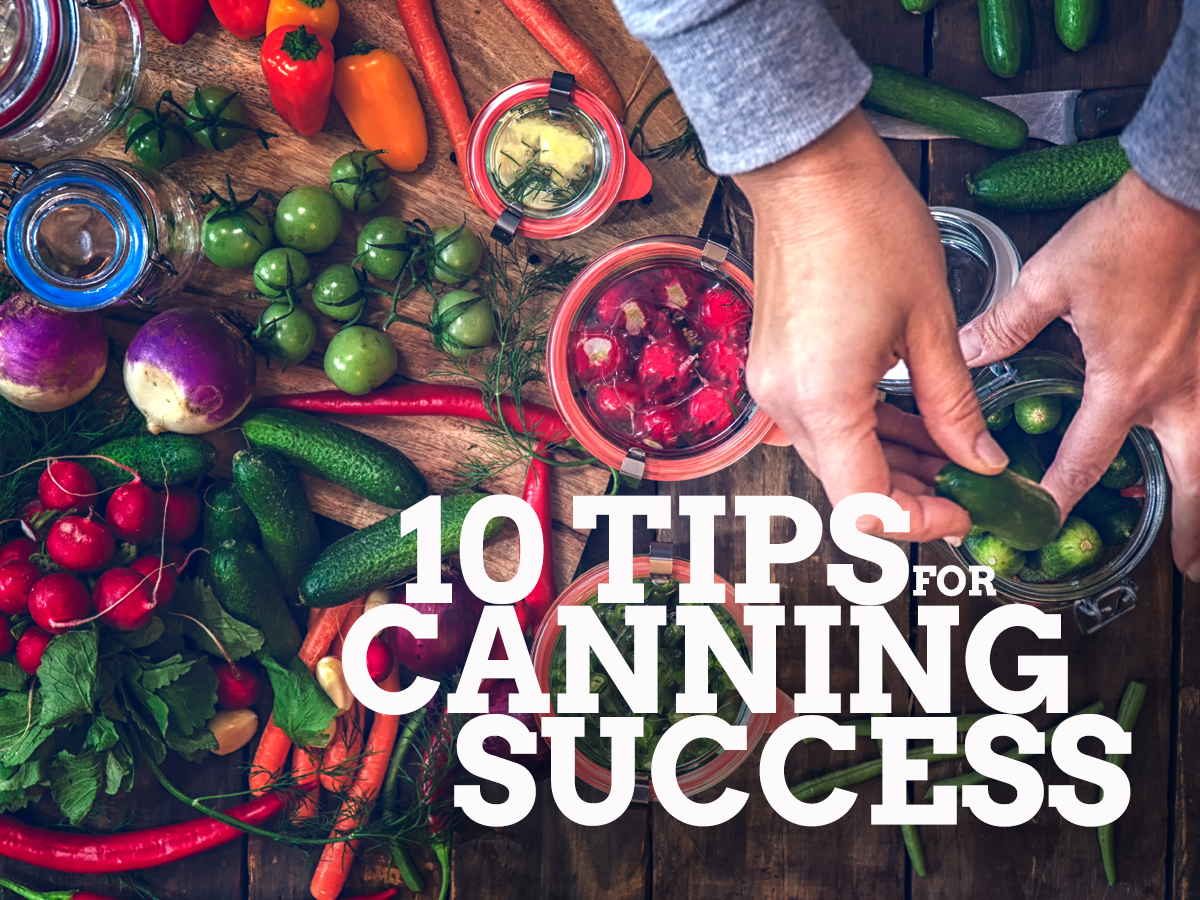
Coastal's Top 10 Tips to Canning Success
July 31, 2023
Canning is all about preserving your garden’s bounty as well as the produce you picked up at your local farm or Saturday market. To do your canning right, we’ve compiled some suggestions from seasoned canning pros.
Understand What Canning Does
Food spoils when you leave it out on the counter. It’ll go bad in the fridge too, given enough time. That’s because microorganisms break it down. Canning pauses that process for a period of time. Heat and pressure push air from your jars and vacuum seals the food. As long as your canning is done right, microorganisms will not be able to enter the jars.
Know How Long You Can Safely Store Food
The length of time you can store canned foods depends on the type of food being preserved and whether you used a water bath or pressure method. The National Center for Home Food Preservation has all the info you need to safely store your preserves.
Get the Right Equipment
A water bath canner is great for preserving jams, and pickles. Canning low-acid foods (such as meats, vegetables, fish, or poultry), requires a pressure canner to safely store those items.
When choosing a boiling water canner, be sure it has a tight-fitting lid and a flat bottom that fits on your stove top. There are a lot of considerations to weigh when choosing a pressure canner. Washington State University Extension Service has several resources to help you choose one that’s right for you, including how to use and care for a pressure canner.
Start with Great Produce
Don’t waste your time canning fruits or veggies that nobody will want to eat later in the year. Start with the best produce available. Did you have too many blueberries this year? Try canning them for a treat this winter.
Buy New Jars and Lids (or clean them thoroughly)
Recycling is a big feature of canning, but safety should come first. Either buy new jars and lids or clean them well. If you’re not getting the right seal on your jars, look for chips on the rim of the jar. Even a small chip can cause issues. Also, be sure your lid is centered every time. If the sealing compound is not firmly on the rim, it might not seal.
Fill Your Jars Properly
Always leave enough headspace for food to expand when heated. Every recipe will tell you how much room you’ll need to properly create the vacuum.
Follow the Recipe
Both Oregon State University Extension Service and Washington State University Extension Service offer recipes and advice for a safe and enjoyable experience. But it’s up to you to follow those recipes exactly. Want to make sure your canned food is safe for your family? Call OSU’s seasonal food safety and preservation hotline at 1-800-354-7319 or use their online web form. WSU’s hotline is at 509-735-3551. Want to chat with someone nationally? Visit the National Center for Home Food Preservation.
Adjust for Altitude
The elevation where you live can impact boiling points and cooking times. Find your altitude before you start canning.
Make a Day of It
Canning takes time. Depending on how much you plan to preserve, you could be at it for hours at a time. Experts suggest starting early in the day and going slow. The last thing you want is to throw away jars of ruined food because the canning process was rushed. Over time you’ll get better at canning. What used to take a whole day or weekend will come together much faster.
Label Everything
Include the canning date and what’s in the jar on every lid. You might also consider indicating what recipe you used. If you find you don’t love a specific pizza sauce that you canned, you can avoid the jars with that recipe and try others in the pantry. Plus, if there is a problem with a specific recipe, you can throw out those jars to keep your family happy and safe.
Start Your Canning Adventure at Coastal
Get all of your canning supplies at your nearby Coastal. That includes lids and bands, jars, pressure canners, water canning equipment, measuring devices, and all the tools to help get your canning done right.
